Introduction
Imagine the sweet, nutty scent of vanilla and toasted almonds filling your kitchen. This vanilla nut granola recipe isn’t just breakfast; it’s pure comfort in every crunchy bite. Enjoy it as a yogurt topping, with milk, or straight from the jar. It’s a simple way to start your day with something delicious and nutritious.
Making granola at home is easy and rewarding. It’s cost-effective and gives you full control over what goes in. Unlike store-bought granola, loaded with preservatives and excess sugar, this recipe uses natural sweeteners and wholesome ingredients. Even better, it’s highly customizable to suit your diet and taste preferences.
Think you don’t have time to make breakfast? Think again! This recipe is quick, beginner-friendly, and ideal for meal prep. In no time, you’ll have a jar of golden, crunchy granola that stays fresh for weeks. Let’s explore how this homemade vanilla nut granola can transform your mornings. Looking for more ideas? Don’t miss these quick and healthy breakfast recipes!, don’t forget to explore other quick and healthy breakfast ideas.
Why This Vanilla Nut Granola Recipe is Perfect for Breakfast
There are countless reasons to fall in love with this recipe, but let’s highlight the top ones:
- Simple, pantry-friendly ingredients: You likely have most of these ingredients at home already.
- Beginner-friendly process: The steps are straightforward and require no special equipment.
- Naturally sweetened: It uses honey or maple syrup for sweetness, keeping it healthier than store-bought versions.
- Customizable: Whether you’re vegan, gluten-free, or just feeling creative, you can tweak this recipe to fit your needs.
Additionally, this granola isn’t just a breakfast food. It doubles as a healthy snack, making it an all-day delight. You’ll love how versatile it is for any occasion, whether you’re serving it to family, gifting it to friends, or enjoying it alone.
Ingredients for the Best Homemade Vanilla Nut Granola
To create this delicious granola, you’ll need the following ingredients:
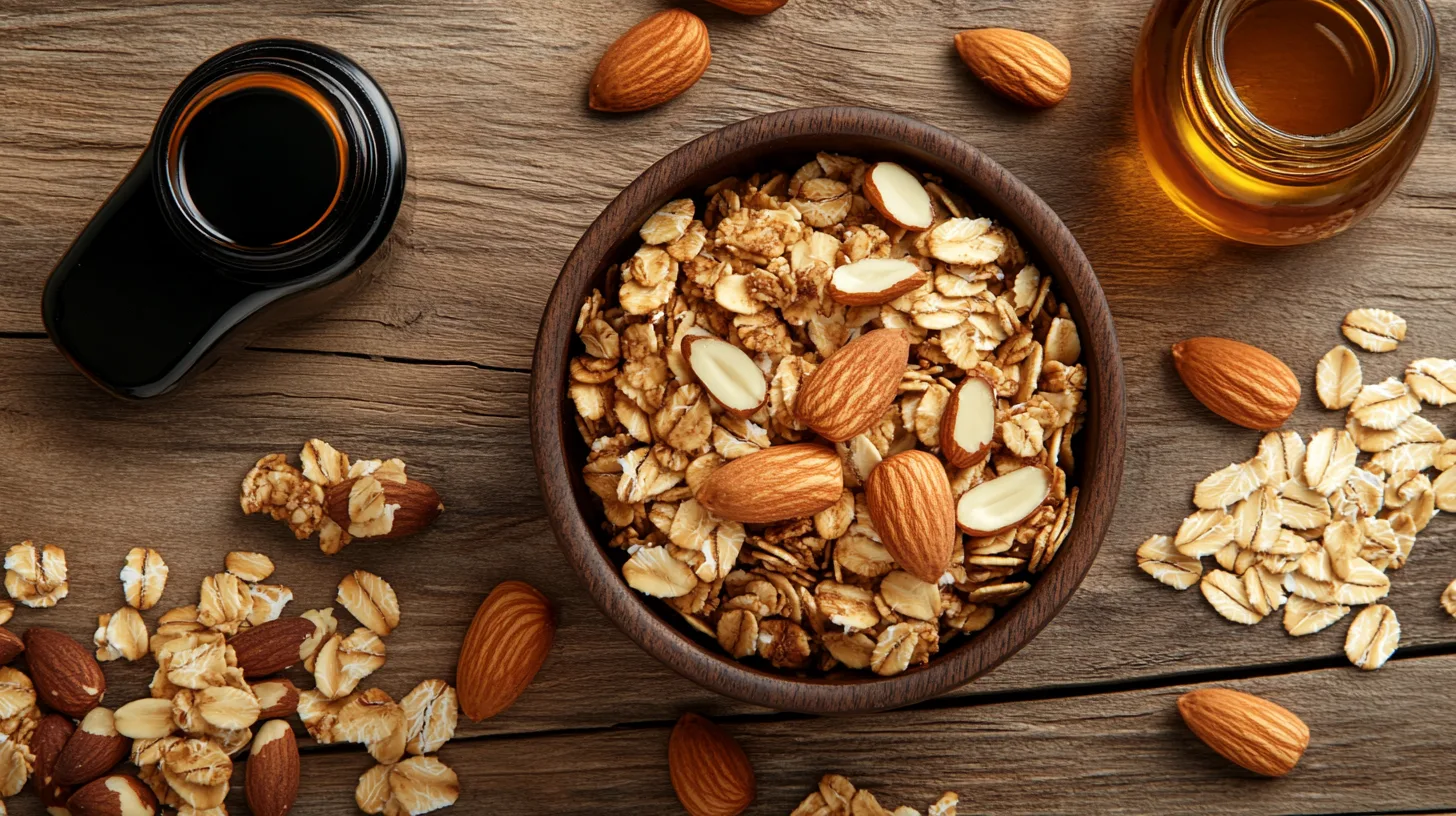
- Rolled Oats: These form the base of the granola. Old-fashioned oats work best as they give the perfect chewy-crunchy texture. Avoid instant oats, as they may not hold their shape during baking.
- Nuts (Almonds, Pecans, or Walnuts): Nuts add richness and crunch. Almonds are a classic choice, but feel free to mix things up with pecans or walnuts. For extra flavor, lightly chop the nuts.
- Natural Sweetener (Honey or Maple Syrup): This binds the granola and gives it a caramelized sweetness. Choose maple syrup for a vegan option or honey for a traditional twist.
- Vanilla Extract: The star of the show! Vanilla extract brings warmth and depth, enhancing the granola’s overall flavor.
- Coconut Oil or Butter: Fat helps the granola crisp up while baking. Coconut oil is perfect for a dairy-free option, while butter adds a slightly richer taste.
- Salt: Just a pinch makes all the other flavors pop and balances the sweetness.
- Optional Add-ins: For variety, consider shredded coconut, cinnamon, or nutmeg. Add chocolate chips or dried fruits after baking for an extra treat.
If you don’t have one of these ingredients on hand, don’t worry. You can easily substitute pecans for almonds or use agave syrup instead of honey. Remember, this recipe is all about flexibility, so don’t hesitate to get creative.
Step-by-Step Guide: How to Make Vanilla Nut Granola at Home
Step 1: Preheat the Oven
Start by preheating your oven to 300°F (150°C). While it’s warming up, line a large baking sheet with parchment paper. This not only prevents sticking but also makes cleanup a breeze.
Step 2: Mix the Dry Ingredients
In a large mixing bowl, combine the rolled oats, nuts, and salt. If you’re feeling adventurous, add a teaspoon of cinnamon or a pinch of nutmeg for extra warmth. Stir until the dry ingredients are evenly distributed.
Step 3: Heat the Wet Ingredients
In a small saucepan, gently heat the coconut oil or butter, honey or maple syrup, and vanilla extract over low heat. Stir frequently until the mixture is smooth and well-combined. Be careful not to boil it; you just want everything to melt together.
Step 4: Combine Dry and Wet Mixtures
Put the warm liquid mixture over the dry ingredients. Using a wooden spoon or spatula, stir thoroughly to ensure every oat and nut is evenly coated. This step is crucial for achieving the perfect crunch in every bite.
Step 5: Spread and Bake
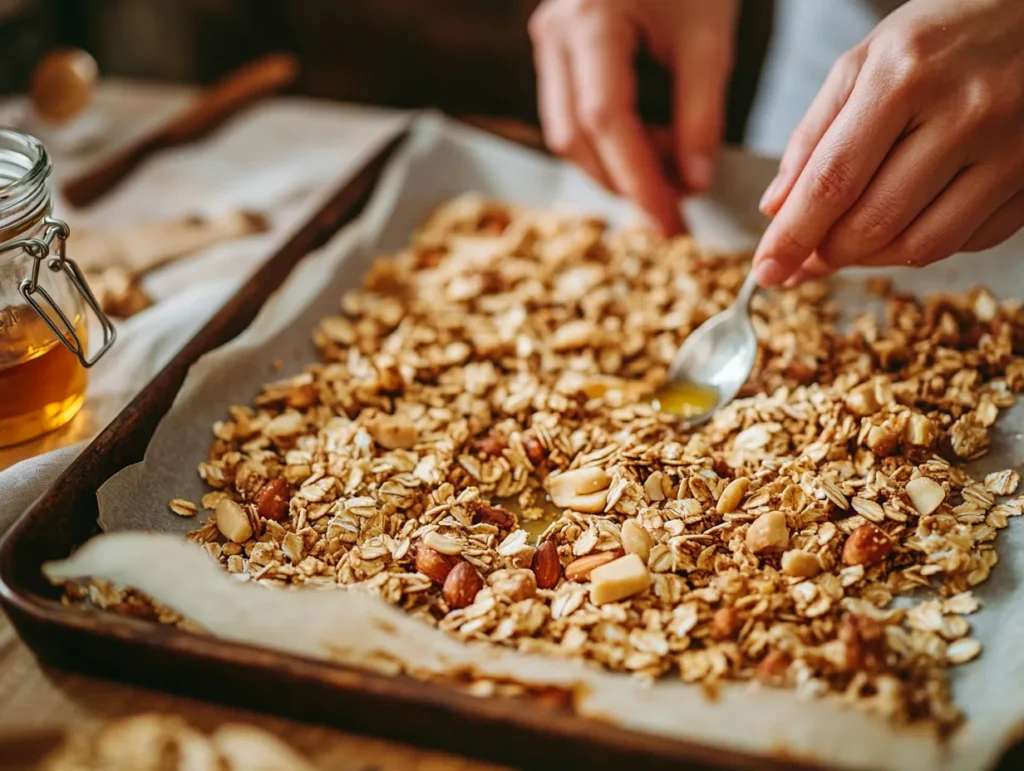
Spread the mixture onto your prepared baking sheet, making sure to create an even layer. Bake the granola for 25–30 minutes, stirring every 10 minutes to ensure even browning. Watch closely during the last 5 minutes to prevent over-baking.
Step 6: Cool Completely
Once your granola is golden and fragrant, remove it from the oven and let it cool completely on the baking sheet. During this time, it will crisp up and form clusters. Avoid stirring it while it’s cooling if you want larger clumps.
Step 7: Break Into Clusters
After the granola has cooled, use your hands to break it into clusters of your desired size. At this point, you can mix in any additional ingredients like dried fruit or chocolate chips.
Customization Ideas for Your Vanilla Nut Granola Recipe
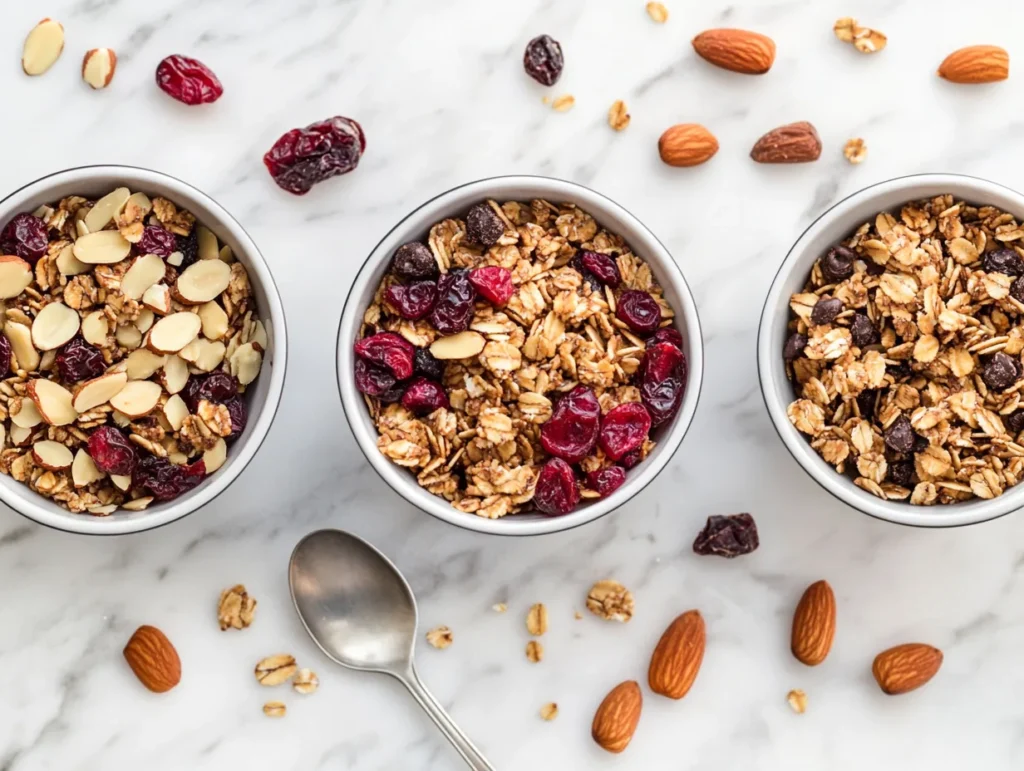
This recipe serves as a versatile base that you can modify to suit your tastes. Here are some ideas to inspire you:
- Add Dried Fruits: Try dried cranberries, raisins, or chopped apricots for a chewy texture.
- Incorporate Seeds: Boost the nutrition by adding flaxseeds, chia seeds, or sunflower seeds.
- Make It Chocolatey: Toss in cocoa nibs or dark chocolate chips once the granola has cooled.
- Add a Tropical Twist: Stir in shredded coconut and dried pineapple for a sunny, tropical flavor.
Don’t be afraid to express your creativity when experimenting with flavors.
Tips for Achieving Crunchy Nutty Granola Clusters
To ensure your granola turns out perfect every time, keep these tips in mind:
- Spread Evenly: Thin, even layers on the baking sheet allow for uniform baking.
- Stir Strategically: Stir during baking to prevent burning, but not too often if you want clumps.
- Monitor Closely: Granola can burn quickly, so check on it during the final minutes.
Additionally, always cool your granola completely before storing it. This step ensures it remains crisp and fresh.
Storage Tips for Your DIY Granola Mix
Homemade granola is as easy to store as it is to make. Follow these guidelines for the best results:
- Airtight Containers: Store your granola in a mason jar or any airtight container to maintain freshness.
- Shelf Life: At room temperature, granola stays fresh for up to two weeks.
- Freezing Option: For longer storage, freeze your granola in resealable bags for up to six months. Simply thaw it at room temperature when ready to use.
Nutritional Benefits of Healthy Vanilla Nut Granola
This vanilla nut granola isn’t just tasty; it’s packed with nutrients that support a healthy lifestyle:
- Fiber: Oats promote digestion and keep you feeling full longer.
- Healthy Fats: Nuts provide heart-healthy fats and protein.
- Natural Sweeteners: Honey or maple syrup avoids the pitfalls of refined sugar.
Compared to store-bought granola, which is often high in sugar and additives, this homemade version is undoubtedly a clear winner because it offers better flavor, fewer preservatives, and more control over ingredients.
Serving Suggestions for Vanilla Almond Breakfast Ideas
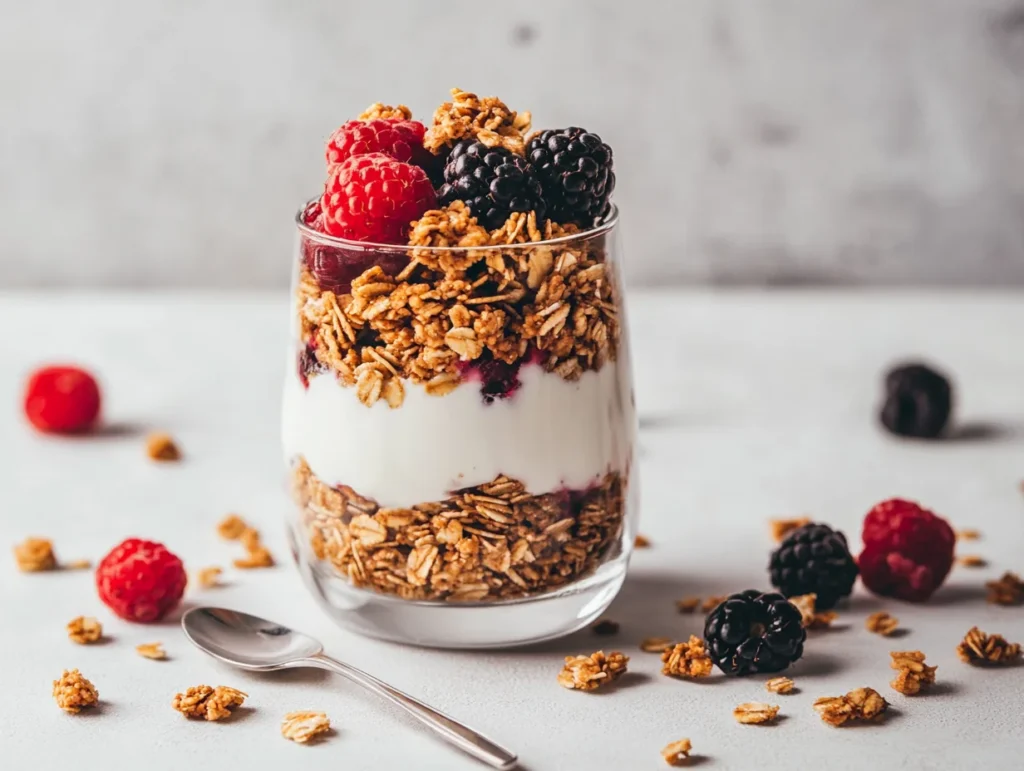
There are so many ways to enjoy this granola! Here are just a few ideas:
- Classic Bowl: Serve with Greek yogurt and fresh berries for a balanced breakfast.
- Smoothie Topping: Add it to smoothie bowls for extra crunch.
- Dessert Garnish: Sprinkle over ice cream or puddings for a sweet, nutty topping.
- Portable Snack: Divide it into small bags for an on-the-go treat.
Looking for more creative options? Check out our gluten-free breakfast alternatives.
Budget-Friendly Aspects of Homemade Vanilla Granola
Making granola at home is not only healthier but also more economical:
- Buy in Bulk: Purchasing oats, nuts, and sweeteners in bulk reduces costs.
- Make Large Batches: Double or triple the recipe to save time and effort.
- Reduce Waste: Store your granola in reusable jars or containers to cut down on packaging waste.
Gluten-Free and Vegan Variations
This recipe can easily be adapted to meet specific dietary needs:
- Gluten-Free: Use certified gluten-free oats to ensure the recipe is safe for those with gluten sensitivities.
- Vegan-Friendly: Swap honey for maple syrup or agave to make it completely plant-based.
Gluten-Free and Vegan Variations of This Vanilla Nut Granola Recipe
Vanilla extract plays a crucial role in this recipe. It adds depth, warmth, and a signature aroma. For the best results, choose a high-quality, pure vanilla extract. Alternatively, you can use vanilla bean paste for an even richer flavor.
FAQs: Mastering the Best Vanilla Nut Granola Recipe
What ingredient makes granola stick together?
The key ingredient that makes granola stick together is a natural sweetener, such as honey or maple syrup. These act as binding agents, coating the oats and nuts and helping them form clusters when baked. Additionally, using a fat source like coconut oil or butter enhances the binding process by creating a slightly caramelized texture during baking.
Why are homemade granola not crunchy?
If your homemade granola isn’t crunchy, it’s likely due to uneven baking or insufficient drying during cooling. Here are some tips to achieve that perfect crunch:
- Bake at a Low Temperature: Keep the oven at 300°F (150°C) and bake the granola slowly to ensure even browning. High heat may burn the edges while leaving the center chewy.
- Spread Thinly: For the best results, spread the granola in a single, even layer on the baking sheet. Thick layers trap moisture, preventing the granola from crisping up.
- Don’t Skip Cooling: Allow the granola to cool completely on the baking sheet. This step is crucial, as granola crisps up as it cools.
If you still have trouble achieving crunch, try experimenting with ingredient ratios.
Is Vanilla Nut Granola a Healthy Breakfast Option?
Yes, vanilla granola can be a healthy breakfast or snack option when made with wholesome ingredients. This recipe uses natural sweeteners like honey or maple syrup, which are healthier alternatives to refined sugar. To make your granola even healthier:
- Use low-sugar granola recipes by reducing the amount of sweetener.
- Incorporate superfoods like chia seeds, flaxseeds, or hemp hearts for added nutrients.
- Opt for a gluten-free breakfast idea by using certified gluten-free oats.
Why is granola so high in sugar?
Granola often has a reputation for being high in sugar due to the sweeteners used in recipes. To keep your granola lower in sugar:
- Use natural sweeteners like honey or maple syrup in moderation.
- Balance the sweetness with spices like cinnamon or nutmeg instead of adding more sugar.
- Include unsweetened add-ins like dried fruits, nuts, or seeds to complement the flavor without extra sugar.
With a bit of creativity, you can create a healthy granola snack that satisfies your cravings while keeping sugar levels in check.
Conclusion
In just a few simple steps, you can create a batch of homemade vanilla nut granola that’s healthier, tastier, and more affordable than store-bought options. Whether you’re prepping breakfasts for the week, looking for a quick snack, or planning a thoughtful gift, this recipe is sure to impress. So grab your ingredients, preheat the oven, and start baking—your mornings are about to get a whole lot better!
The best part? The aroma of vanilla and toasted nuts will fill your kitchen as it bakes. Use it as a yogurt topping, pair it with milk, or enjoy it as a snack. This crunchy granola mix will quickly become a favorite in your home. Why wait? Start baking and enjoy a wholesome, flavorful breakfast tomorrow!
For even more inspiration, don’t forget to learn more about creating perfect holiday recipes.

